Of all the products that populate a makeup bag, stick concealer is one of the most versatile and underrated allies. Compact, practical, and always ready to use, it can transform a dull complexion into a fresh one in seconds, a tired look into a radiant one, a blemish into a forgotten blemish.
But to get the most out of this little miracle stick, it's essential to know its secrets . It's not enough to simply apply it anywhere: you need to understand the texture, the desired effect, the right areas, and—most importantly—how to blend it with precision. And today I'll take you through just that: a complete guide to the correct, informed, and super-effective use of stick concealer.
✨ When and why to choose it
Unlike liquid concealers, which are more suitable for light or layered coverage, stick concealer is creamy, dense and full-coverage , but can surprise with a very natural finish — if used well.
It's perfect for:
-
Dark circles under the eyes , thanks to its increased pigmentation.
-
Localized discolorations , such as redness around the nose or chin.
-
Spots, pimples, small marks , where precision is needed.
-
Corrective contouring , in darker or lighter shades to sculpt the face.
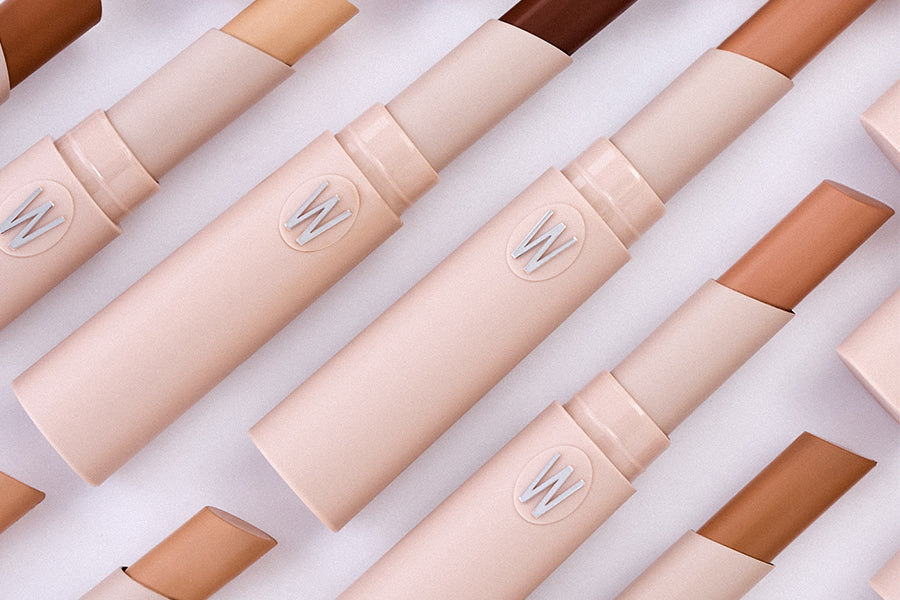
WYCON’s Radiant Stick Luminous Concealer, for example, is a perfect balance between coverage and light: it smooths, illuminates, corrects — without ever drying or weighing down.
🧴 The texture: compact but silky
One of the winning features of a modern stick concealer is its creamy, melting texture , which allows for easy blending even with your fingers. It's lightweight, doesn't crease, and is often enriched with skincare active ingredients, such as sunflower seed wax , which provides softness and an emollient effect.
🖌️ Where and how to apply it
Stick concealer must be applied with precision. Here are the key areas :
-
Under the eyes : Draw two small lines in an inverted "V" shape from the inner corner toward the center of the cheek. Dab with your ring finger or a damp sponge.
-
On the sides of the nose and on the chin : where redness often concentrates.
-
On blemishes or imperfections : dab with your finger, then blend the edges.
-
Between the eyebrows and the center of the forehead : to give light and even out.
⚠️ Never drag the product: pat and blend . If you need more coverage, wait for the first layer to dry and reapply.
🎨 What to blend it with: fingers, sponge, or brush?
-
The fingers warm the product and ensure immediate melting, ideal for small areas.
-
The damp sponge gives a soft-focus and natural effect, perfect for the eye contour.
-
The flat brush allows you to work with precision in larger areas or to create definition under the cheekbones and jawline.
🧊 The extra trick: use concealer as a highlighter or base
By choosing a shade lighter than your skin tone, the stick concealer can also be used as a corrective highlight : in the center of the nose, under the eyebrow arch, above the cheekbones.
In darker shades, however, it becomes a perfect localized contouring tool.
💡 Mistakes to avoid
-
Apply to dehydrated skin : it will highlight flakes and lines. Always prep with a hydrating eye cream or a glow base.
-
Layering without blending creates a "greasepaint" effect. It's best to layer lightly.
-
Set immediately with powder : wait until it blends well, then use a fine powder, only if necessary.
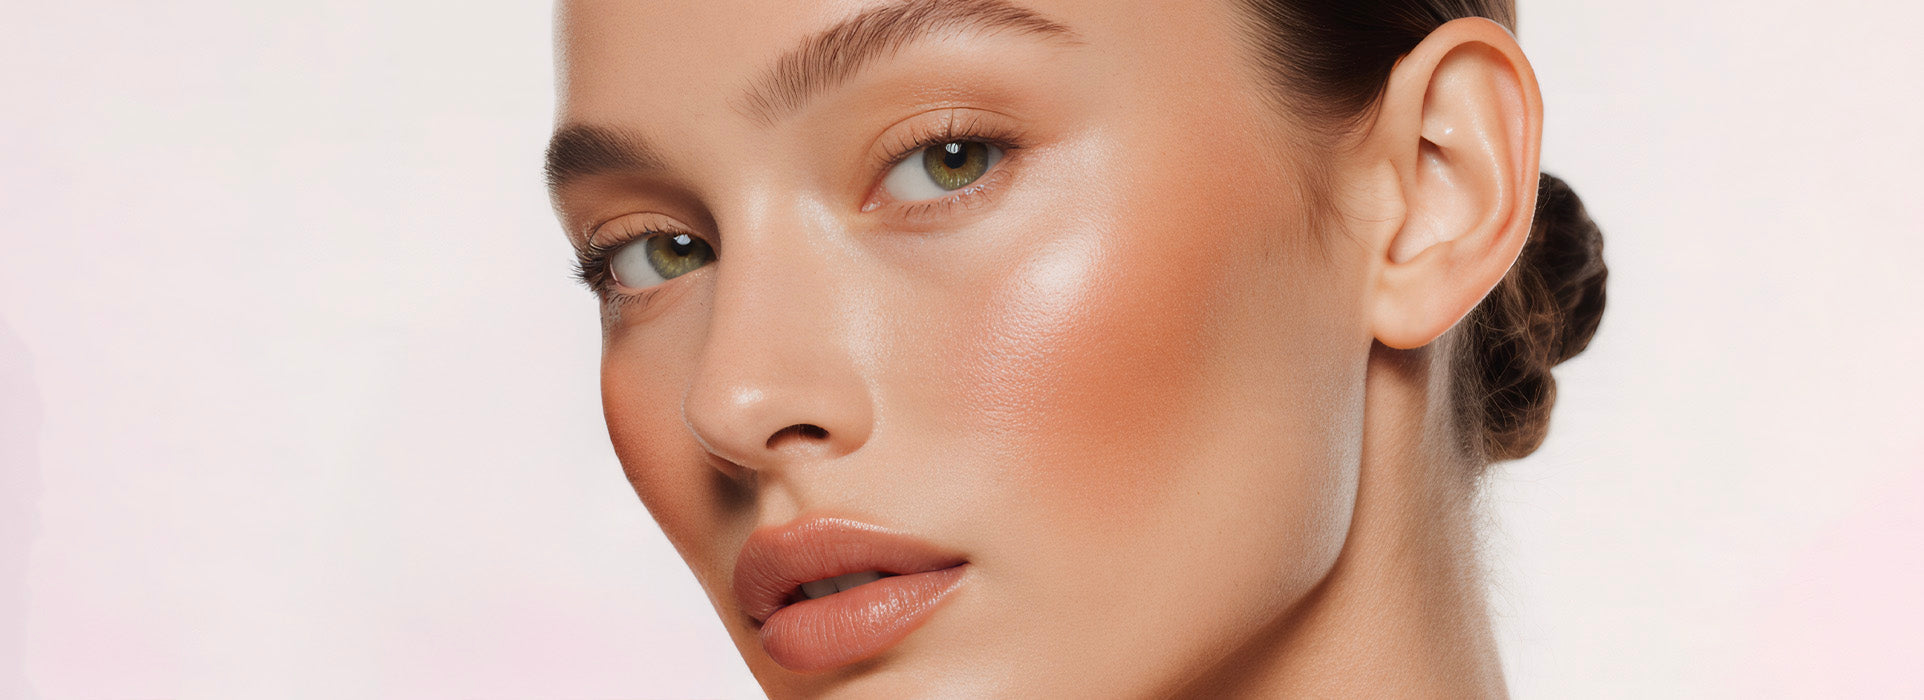
Stick concealer is one of those secret weapons you should always keep in your bag. It's quick, effective, and discreet, yet can give you visibly more even, smooth, and radiant skin in just a few swipes . And, if used properly, it's almost invisible.
That's exactly why it works so well.


Share this article:
Skin-first: the return of makeup that blends with the skin